This past spring I decided I wanted to make a tent for my nephew’s birthday. After looking around the web a bit I decided on a simple A-Frame design. The frame was very easy to make.
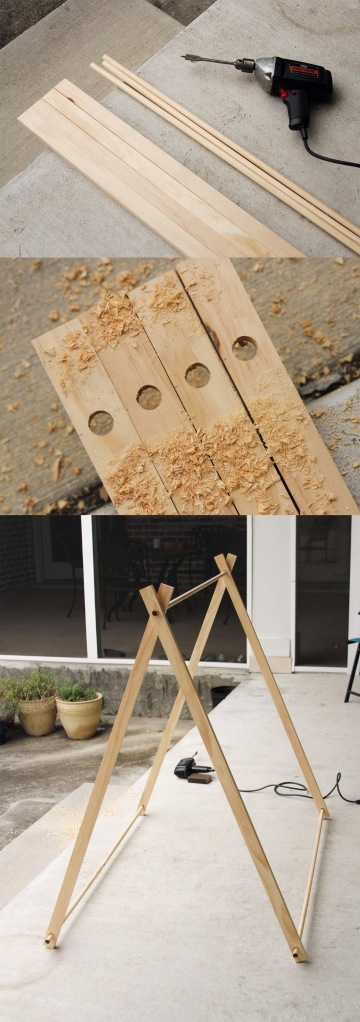
I purchased two 1x2s that were each 8 feet long and I had them cut in half at the hardware store. Also, I purchased 3 dowel rods, 4 feet long and 1/2 inch wide. I then marked two spots on each 1×2, one about an inch one end, and another about 4 inches from the other end. I then got out my 1/2 inch drill bit and got to work!
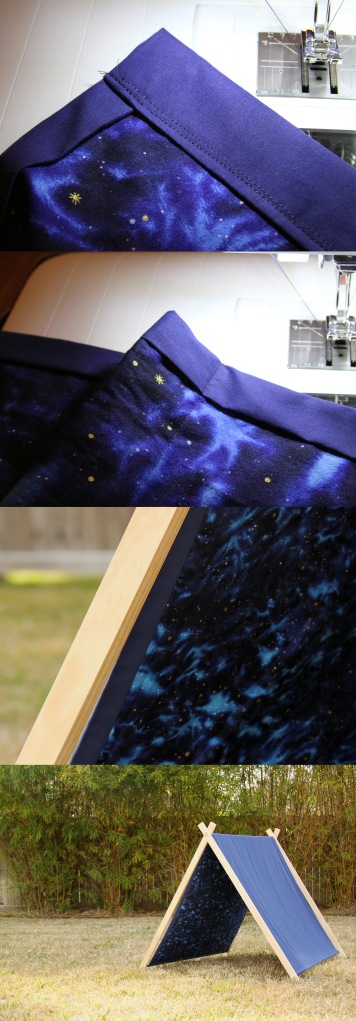
For the covering I had an old navy twin sized sheet lying around and then I also purchased 3 yards of star fabric. I ended up cutting the sheet so that it was 3 yards long to match the fabric, and 50 inches wide. I then turned both fabrics so their right sides where facing each other and sewed them together on both long sides. Next, I turned it right side out, creating a long tube. Since the sheet was wider than the fabric, I ironed the tube so that there was an equal border of blue on both sides. I then folded the tube in half and sewed a pocket to slide the top dowel rod through. I put the tent together and then marked the bottom of each side to know where to sew the bottom dowel rod pockets. I just folded the seam over twice to make it look nice.
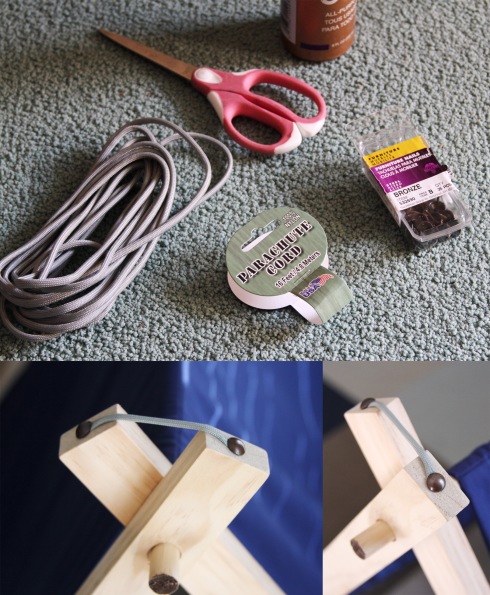
After I made the tent I realized that in grass or on carpet it was pretty stable, but on wood or tile it would just slide open and collapse. To remedy this I cut pieces of parachute cord the width I wanted the 1x2s to stay apart. I then burned the ends of the parachute cords so they wouldn’t fray and then added a dab of kraft glue to a finishing tack so they would stay.
I’m excited about how it turned out and my nephew seemed to like it too! It makes a cozy place to read a book.
Tags: A-Frame Tent, DIY, Reading Tent, Sewing, Woodwork